
Request Quote

Home | How to do it | How To Fix A Leaking Roof From The Inside?
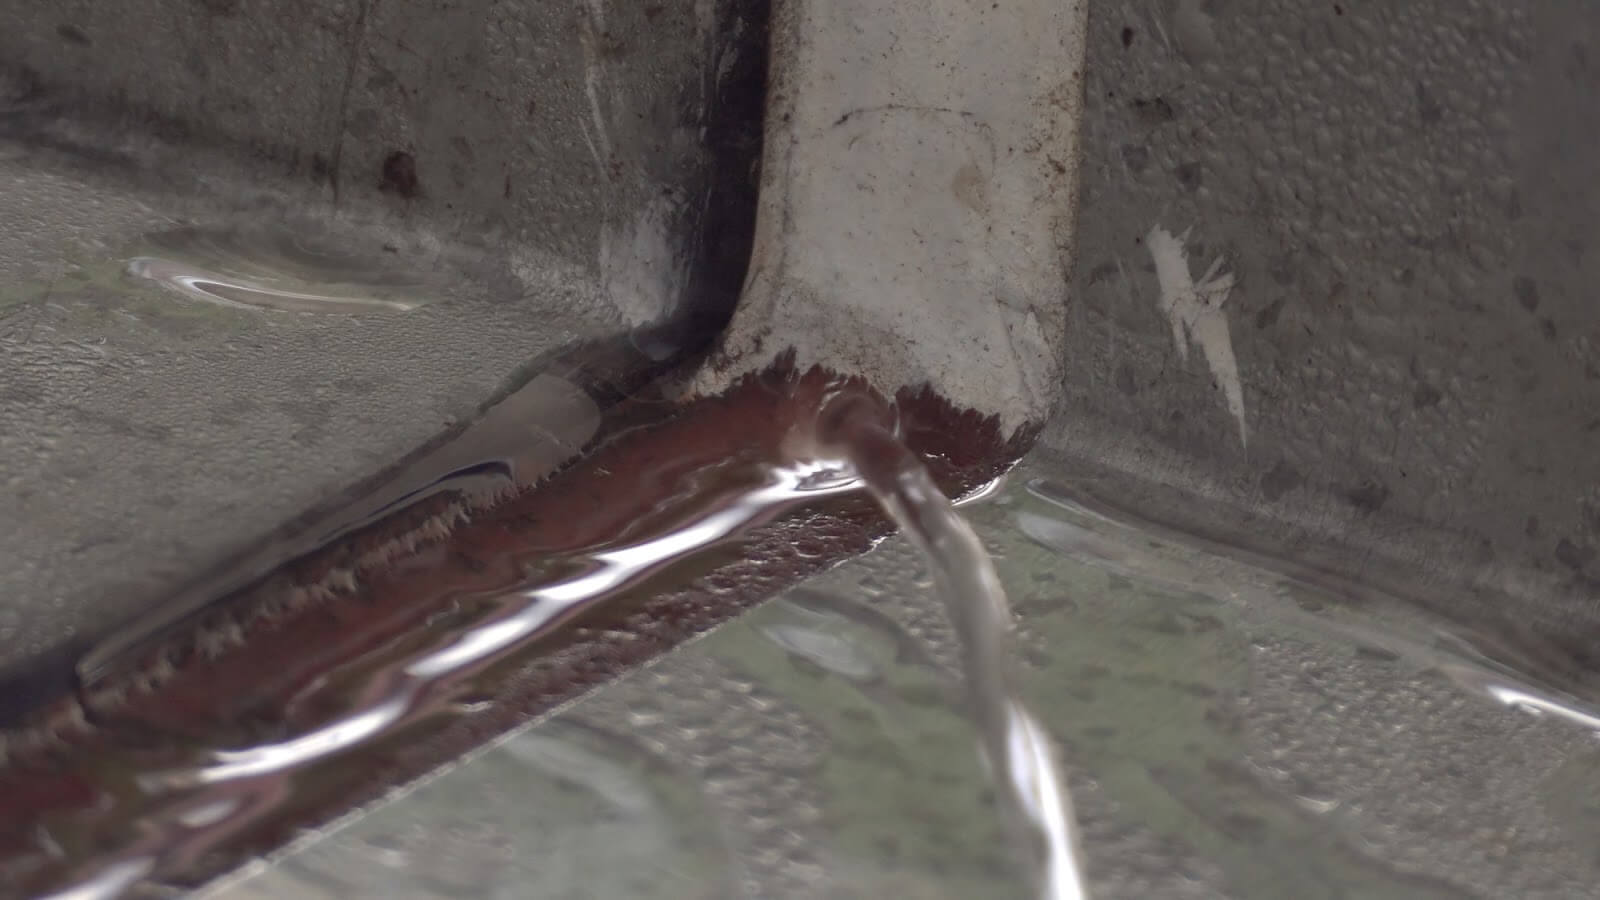
Drip, drip, drip…Oh no, your roof has a leak! Now what?
You might want to fix it from the outside. However, that would be pretty difficult if it’s currently raining or snowing out there. And if you need to get the leak fixed right now to prevent further damage, you have one option – to fix it from the inside. In this article, we’re going to cover how to find any roof leaks and repair them without stepping foot outside. So, if you’re looking for how to fix a leaking roof from the inside, you’ve come to the right place. Just remember that most of the time, this would be a temporary solution to help prevent further damage, which means that you’ll probably need replacement somewhere down the line.
If you’d rather get a professional to replace the roof for you, you can always call our team here at Legacy Service. We have expertise in roof replacement and installation, and we’re ready to help you out during your moment of need. You can reach us at 215-798-9790 or fill out a contact form here to let us know you need service or to learn more about how we can help you.
Not a real zip code.
If you want to do it yourself, continue reading to learn how to repair a leaking roof from the inside:
Before you begin, gather the tools you’ll to fix a roof leak from the inside. They include:
Next, you’ll need to find the actual leak(s). We cover that in the next section.
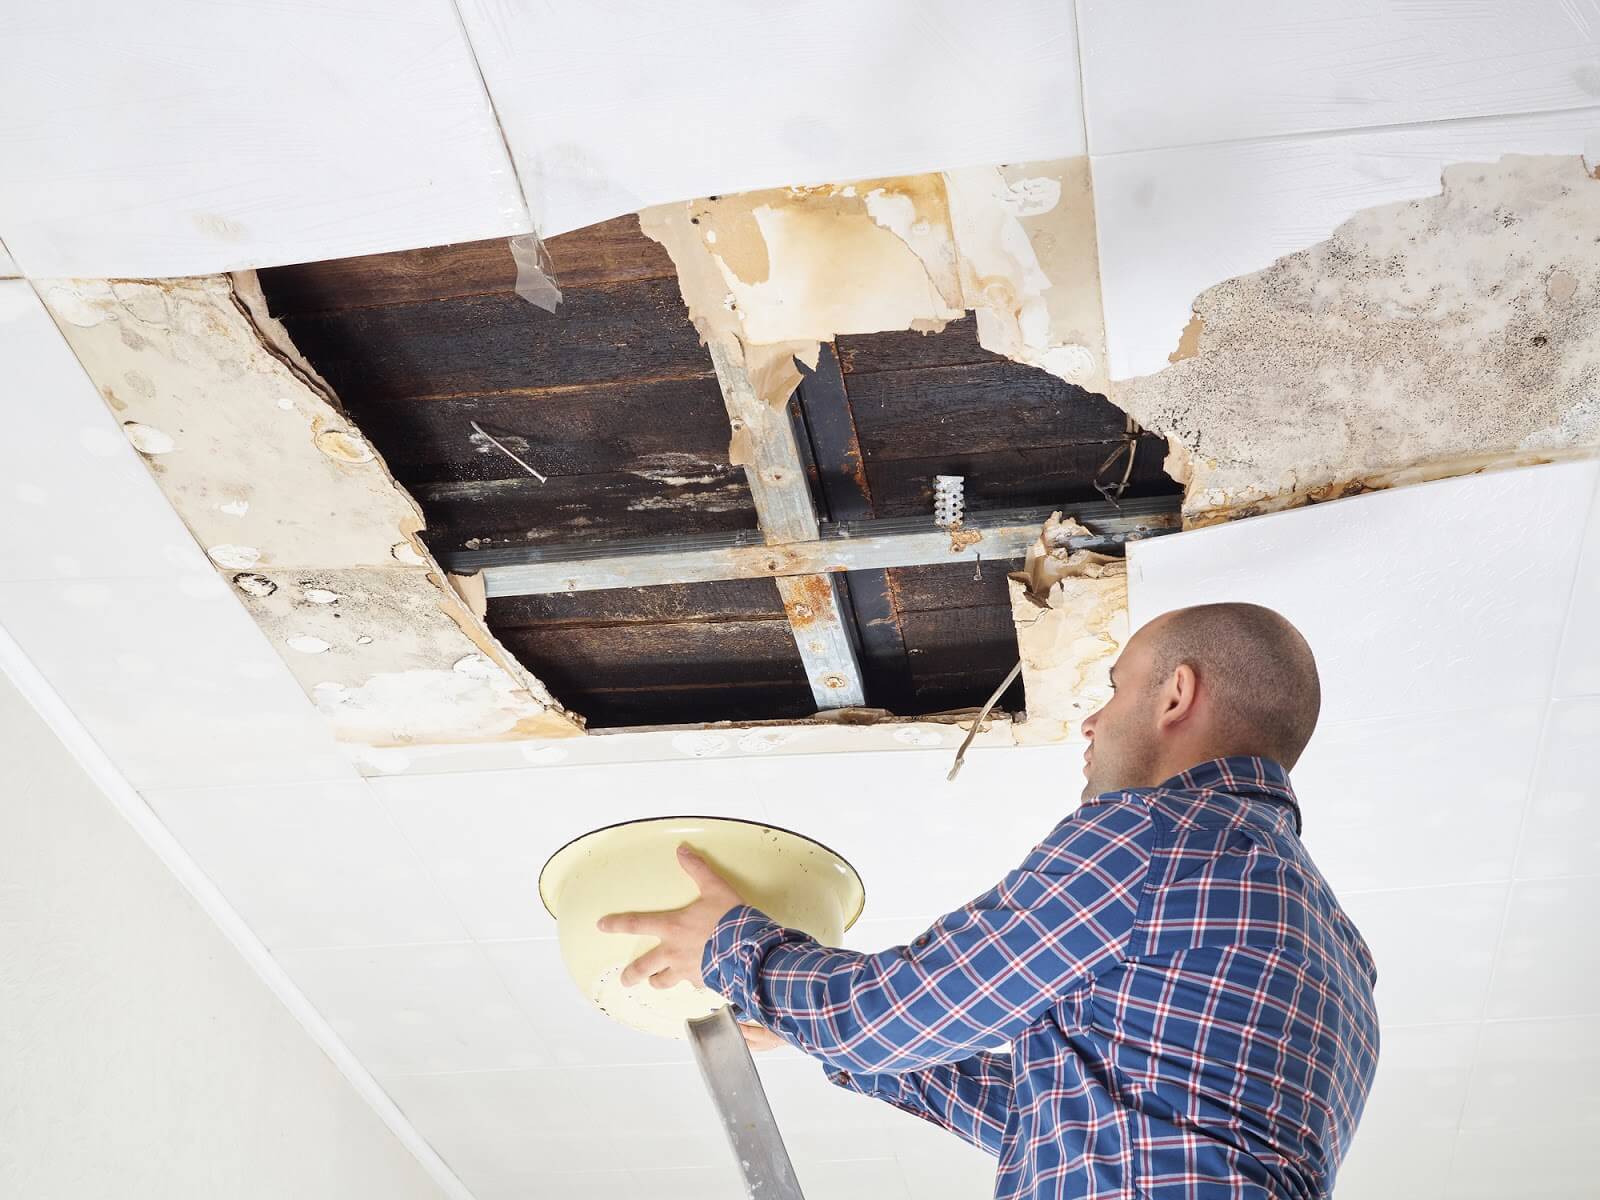
You can’t fix a roof leak without knowing where it’s located. Follow the steps below to find out where any of the leaks are (or you can always call a company that provides emergency roofing services).
Did you find the leak yet? Flashlights are a big help when it comes to finding the culprit. If you and the other members of your house still can’t locate the source, you may have to contact a professional roofing company.
Even if you’ve found the leak, if it’s raining heavily, you might not be able to patch it up just yet. In most cases, roof patches will not be able to hold in wet conditions because they don’t have time to cure. However, there are ways to divert the water in the meantime. Here’s what you can do if you’re not even able to fix a leak in the roof from the inside:
If the area is already dry enough to patch, you can skip diverting the water altogether and just go on to making a temporary patch.
Not a real zip code.
If you found the source of the leak, it’s time to make a temporary patch. This patch isn’t designed to last permanently, but until you can get the leak repaired by a professional. It will be used to help stop further damage from happening while it’s still storming outside. Here’s what you can do to stop the bleeding:
Since this is only a temporary patch, you’ll want to contact your local roofer for a permanent patch. If you’re dealing with multiple leaks, or if your roof is getting old, you might also want to think about replacement. Roofing replacement should be completed about every 15-25 years for asphalt shingles and every 40-60 years for metal roofing.
If you still can’t find the source of the leak after all of your searchings, you’ll have to cover it with some plastic roof covering even if you don’t have an attic or access to it. Follow the steps below:
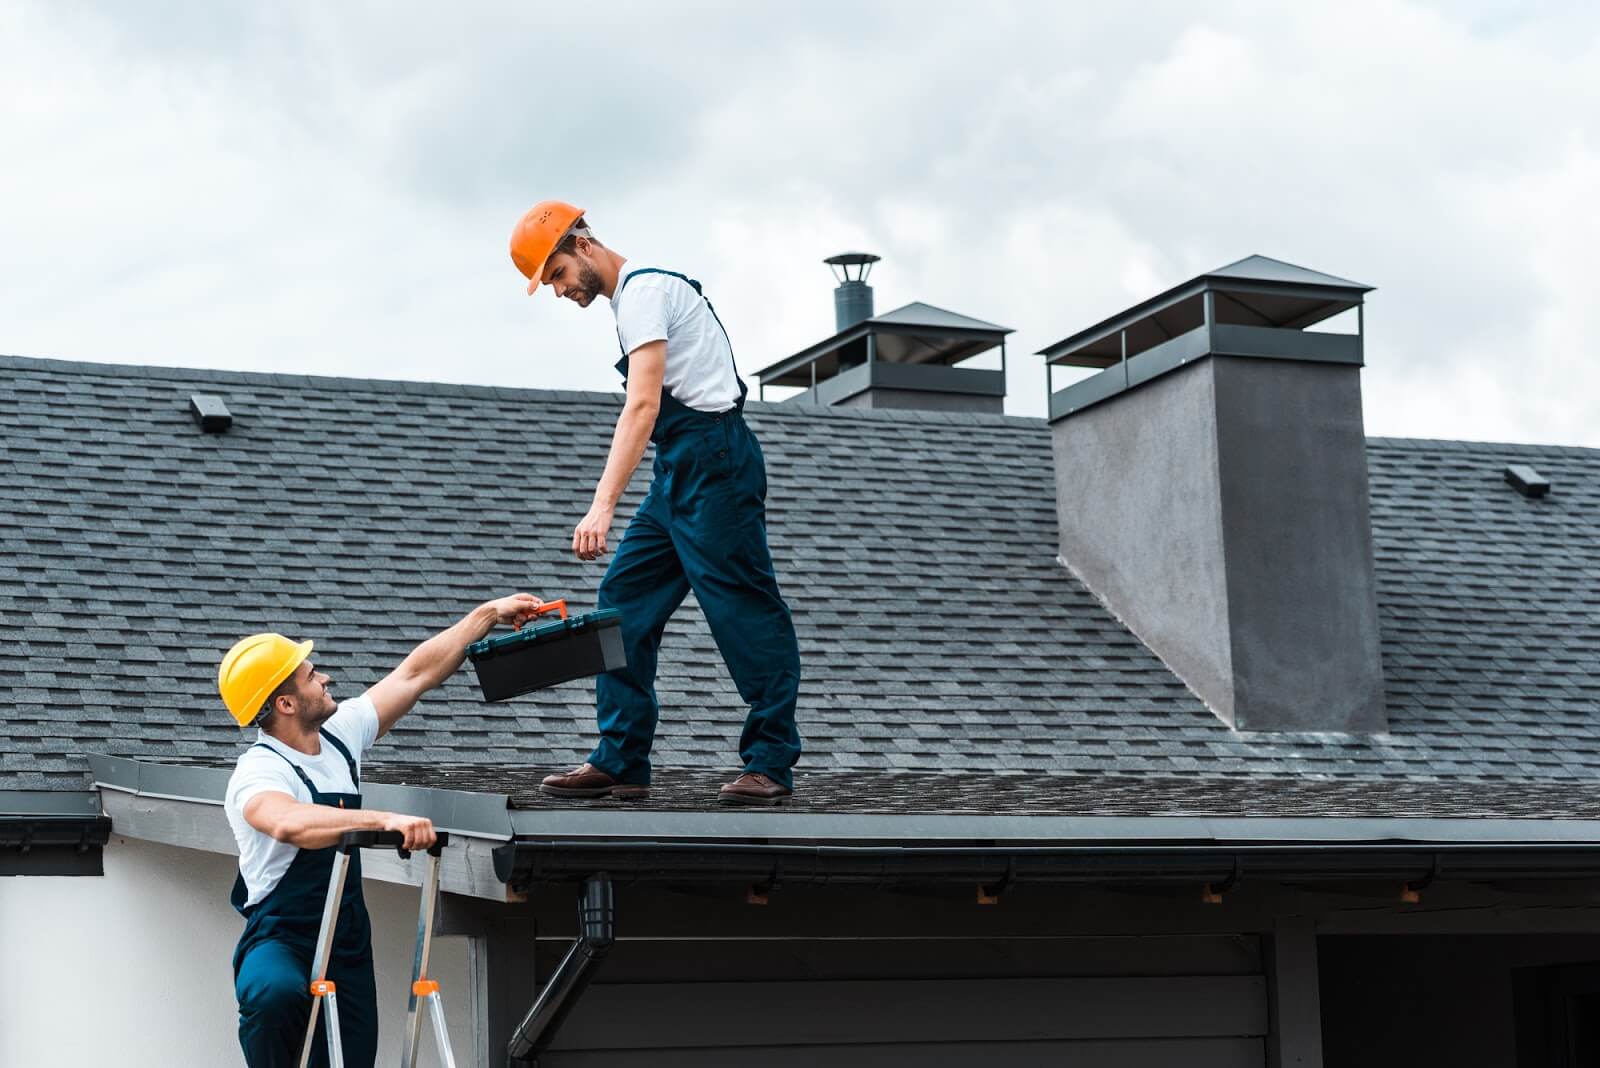
We hope this guide about how to fix a leaking roof from the inside has helped. Fortunately, if you’d prefer help from a professional, you can always contact an emergency roofing company. At Legacy Service, we offer roofing installation and replacement, and we’re here to help you get your home exterior back into shape. No matter what you need, you can turn to our team.
Remember that your roof is one of your most important investments. It keeps you and your family warm, safe, and dry by protecting you from the elements. To learn more about roof replacement, call us at 215-798-9790 or contact us at https://legacyusa.com/contact/.


