
Request Quote

Home | How to do it | How to Attach a Patio Roof to an Existing House
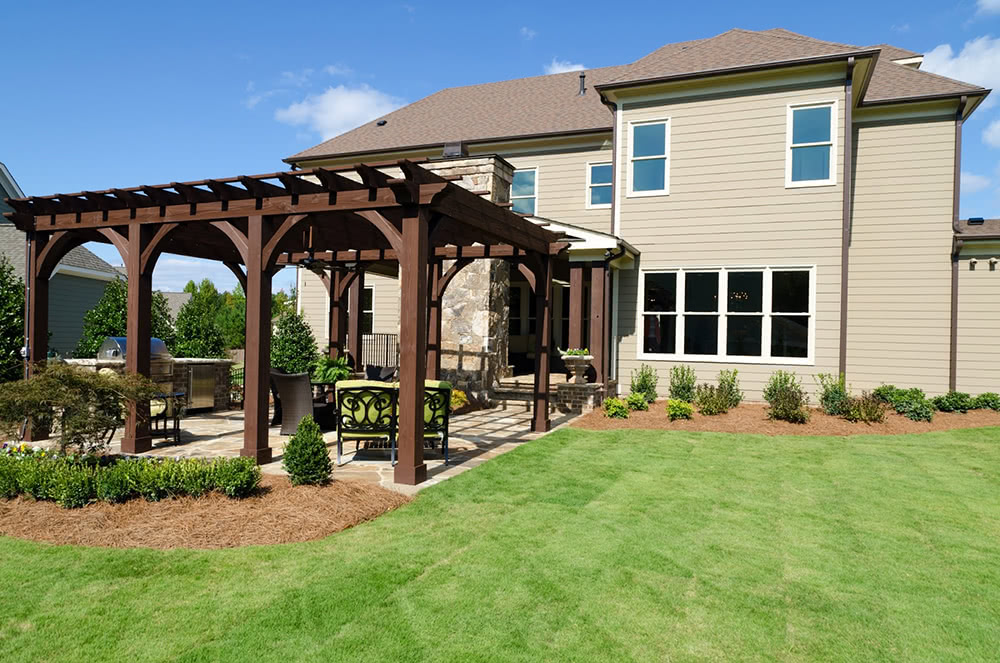
Adding a patio roof to your existing home can create a nice look that effortlessly flows out from your home’s roof. The technique we’re going to share with you shows you how to use your home’s structure by supporting one end of the patio roof on a ledger that is mounted horizontally to the house. Creating this kind of patio roof takes just a little bit of woodworking knowledge and a good amount of patience. If you are a seasoned D.I.Yer and have the skills and the time, this is a perfect project for you. Our roofing experts teamed up to put together detailed instructions to help guide you through your patio roof project. If you follow these steps closely and carefully, you’ll know how to attach a patio roof to an existing house like a pro.
Not a real zip code.

To complete this project, you’ll need the right set of tools to make sure your patio roof is sturdy and safe. Having the right tools ensure that you’ll be able to complete your project without the risk of hurting yourself or making a patio roof that is unstable and dangerous to your home. Look at the list below, check off what you have and don’t start your project until you have all the correct materials.
The first step to creating your rafters is attaching the ledger board to your home. The placement of the ledger board will be determining the level of your roof to make sure it’s positioning is at the correct height and that it is horizontal. If you own a one-story home, the best place to attach the ledger is just below the home’s eaves. If you own a two-story home, you can tie the ledger into a band joist. Find the band joist by measuring down from the 2nd story window. When you attach the ledger boards to the fascia, they should be held securely with bolts through the wall, or you can use lag screws.
After the ledger board is correctly attached, it’s time to add the flashing. It’s best to use aluminum flashing to keep water from seeping behind the ledger board which can eventually cause damage. The flashing should be tucked underneath the siding and bending over the ledger, then down the face of the ledger board.
Not a real zip code.
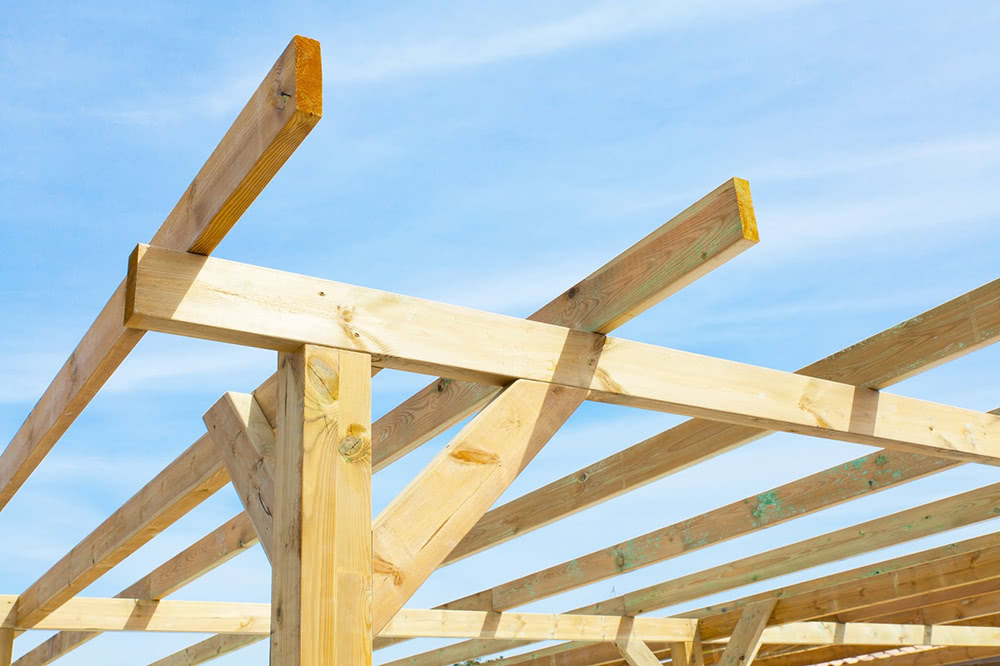
Take time to prepare your rafters before hanging them. Paint them whichever color suits your home and attach the joist hangers. With a house attached overhead, the rafters will be fastened to one end of the home. Metal joist hangers make the best and sturdiest connections. Other connectors like seismic anchors can be used if you’re connecting your rafter to the top of the ledger, but in most cases, joist hangers will be the best way to go.
Begin attaching the 2×6 rafters to your home with joist hangers supported by the ledger board. If needed, use a sliding bevel to find the correct angles to where the rafters will meet the ledger board. Rafters will be placed on 24-inch centers and attached to the beams and settle joists towards the center. Make sure you check that every rafter is level as they are installed. First, attach to the ledger, and then settle joists. The verticle beam should be checked to make sure it is level and that the end rafters are positioned securely. If the rafters are extended over the beam, make sure they do not extend any more than ⅓ of the overall rafter length.
Check the end of the rafters to make sure they are all straight. If your walls are crooked, that means the end of the rafters is also crooked. Try to reposition the rafters to correct this problem. If you run into some trouble trying to straighten out the rafters, make a chalk line across the end of each one and trim them with your saw before you attach the sheathing. If your walls and rafters are crooked, this will be very noticeable when viewed from below. Take the extra time to make sure they a straight so your project looks uniform and professional. Add fascia board to the end of your rafters to get the finished look.
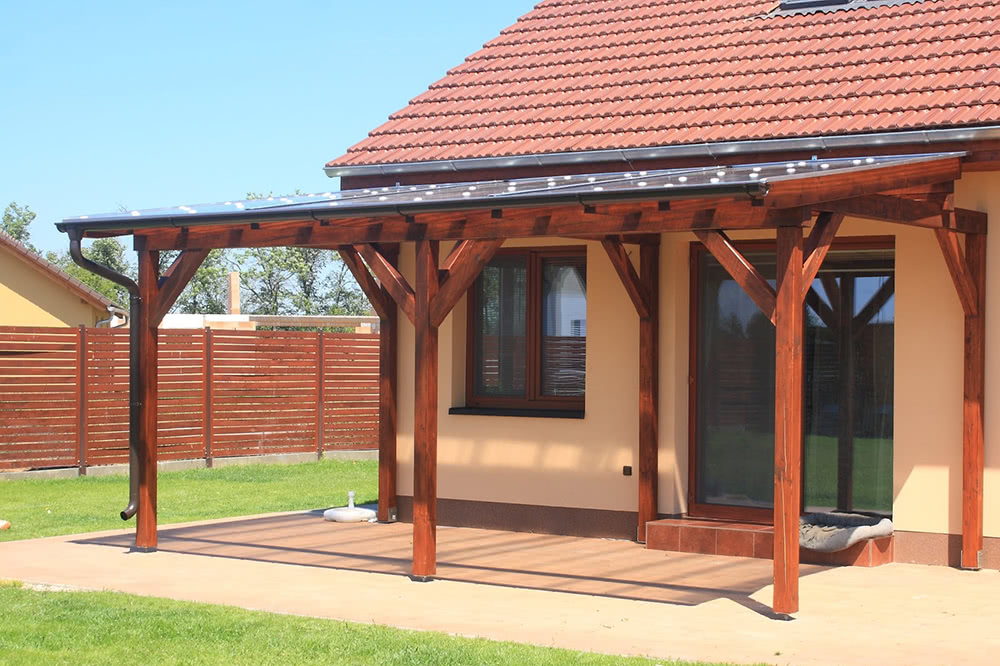
When you’re done building your patio roof, take the time to add shingles or whichever roofing material you prefer. If you want to save a little time and money, you can also attach a patio cover instead of roofing products. For an open and airy look, you can leave the beams exposed and not add covering. Paint the beams to match the trim of your home or show off the beauty of the natural wood you used. There are so many decorative options to choose from to show off your newly completed patio. Decorative trim and flashing will make the job look professionally done while hiding nails and metal caps. A patio roof that is built to an existing home is the easiest way to add a nice little oasis to your house. You can stay out of the bad weather while still enjoying the outside and getting a dose of nature right from your home.


