Request Quote
Home | How to do it | How to Install Fiber Cement Siding

Fiber cement siding, such as HardiePlank by James Hardie, has become the top of the line material in the market. When it’s time for new siding, many people decide to take on the project themselves which can sometimes be successful, but often times not. Fiber cement isn’t your average siding material and there are big differences in the installation process. Your best outcome will be calling Legacy Service to provide you with a flawless installation but if you are up for the job, here are some tips.

Wall preparation is key to prevent issues down the line after you install fiber cement siding. Before you start the installation process, make sure there are no large obstructions along the wall and that the flashing around windows, doors, and other openings are properly installed. You may also want to check if the manufacturer requires a weather resistant seal for installation. There are many intricate things to check before installing. If you run into some difficulty, our installation team is able to thoroughly inspect your home to give you a hassle free estimate on fiber cement siding installation.
Not a real zip code.

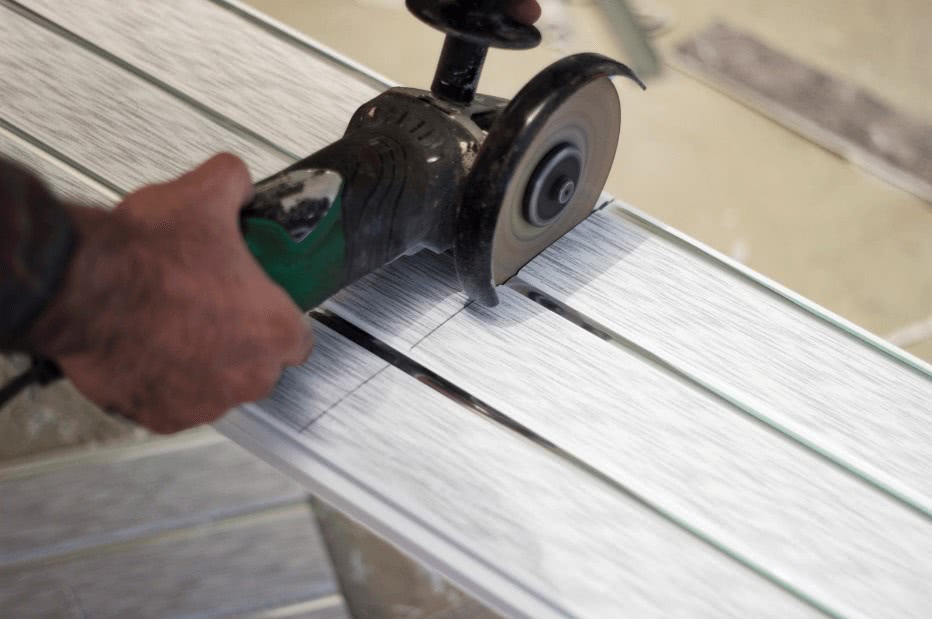
Never forget to practice the best safety procedures when installing fiber cement siding:
Each step and material used during your siding job is designed to work together to give you an elegant and stable home for years to come. You should never try to cut corners on even the smallest materials like nails and trim. Doing this can greatly affect how your fiber cement siding will look.


Nailing fiber cement siding can be done by hand or with a nailing gun. You can also attach it with corrosion resistant screws.
To start installing trim, your going, to begin with, the inside and outside corners of the wall. These can be made from various materials like vinyl, wood, or sturdier fiber cement materials like HardieTrim. Always be sure that the corners are at minimum 1⁄4’ thicker than two pieces of siding stacked together, so you have enough room for caulking.
Not a real zip code.
Always be certain that your fiber cement siding is installed six inches or more above the land grade of your home giving it a 1-2” gap between steps, decks, or adjoining roofs. Install the flashing correctly over all windows and doors, leaving a 1⁄4” opening in between siding and flashing. If tackling this project by yourself, you can use overlap gauges to support the siding as you nail it.

Due to years of your homes frame and foundation settling, it’s guaranteed to have some imperfections along the walls. When these flaws go ignored, the inconsistencies can show through newly installed fiber cement siding. Adding siding insulation, can quickly fix this issue AND saves you money on your energy bill.
Certain siding insulation products like Linebacker and FullbackFC can make your job a lot easier because they have a built-in installation guide. They consist of small ridges in the insulation that guide you to installing each panel perfectly without measuring; no more chalk lines or guesswork.
Start off by attaching a 1 1⁄4” wide strip of your siding about 1⁄8” over the bottom of the first row to give a proper angle for the siding. Next, nail your 1st row of siding into the studs, leaving only a 1⁄8” gap at the corner boards to leave space for caulking. It is best to blind nail the siding since the nails are hidden by the following row of siding. There is no need to predrill the nails unless they are near the ends.
Center the joints over studs unless you are using metal off stud joiners. Joints need to be adjoined loosely with a 4” wide strip of heavy felt positioned under each one. Be sure that the felt overhangs the prior row of siding so water does not run behind it. Each row of fiber cement siding should overlap by at least 1 1⁄4”. Use a spacer stick to help cut the length of the exposed part to help make aligning the siding easier. Using a level, check that each row lines up at the corners. When installing the siding around windows and doors, you must hold it in place make a mark at each end.
Use a square or level to check that the rows line up at corners. When notching the siding around doors and windows, hold it in place and mark each end. To determine the depth of the notch,
Finishing
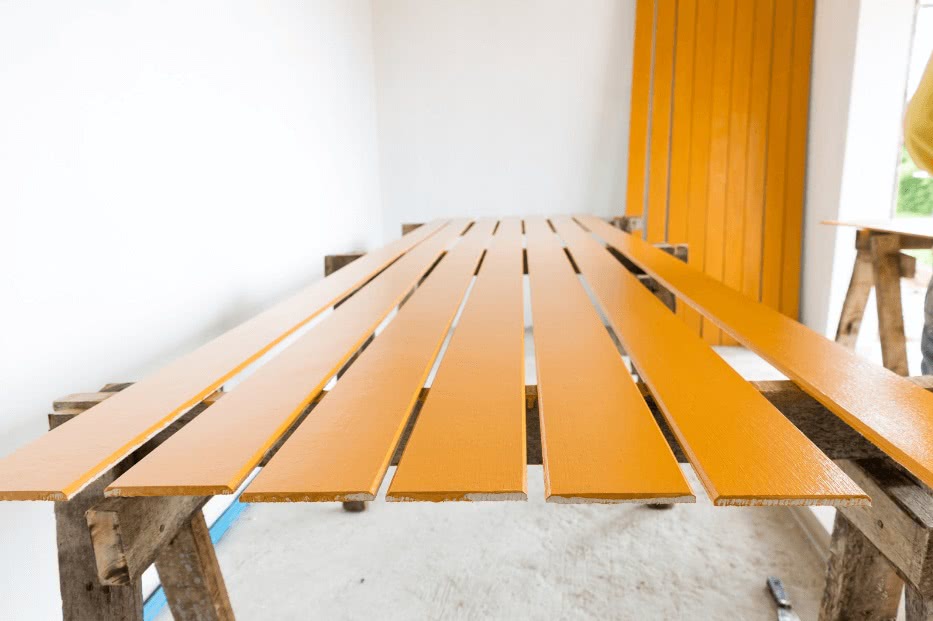
Although you should paint your fiber cement quickly after installing, if your siding is factory primed, it can go 6 months without painting. Before painting, always be sure that your siding is clean and dry. Prime all the bare siding and exposed cuts, then proceed to paint with 100% acrylic latex paint.
Tip: Always follow the manufacturer’s instructions!

We know fiber cement installation can be a little time consuming, and that the cost to install isn’t the cheapest. This still should never be a reason to cut corners or skip installation steps. Not following the instructions step by step can cause problems to arise in the future.
This is by far the most important tip to remember. Each manufacturer’s instructions based on their specific best practices. Deviating from their written instructions could potentially void your warranty, so following their outlined steps is critical. Make sure that you fully understand any departures that are made from your manufacturer’s instructions and check with them if you are unsure.
Fiber Cement siding is one of the top choices in siding materials. It’s strong and provides your home with amazing protection. Legacy Service offers amazing high-quality brands like James Hardie, and are also certified fiber cement siding installers. We have extensive knowledge of our products and always guarantee fail free installation. If you’re interested in giving your exterior the gift of fiber cement siding, give us a call today. Our consultants will be happy to give you a hassle free estimate at no cost.