
Request Quote

Home | How to do it | How to Install Hardie Board Siding by Yourself
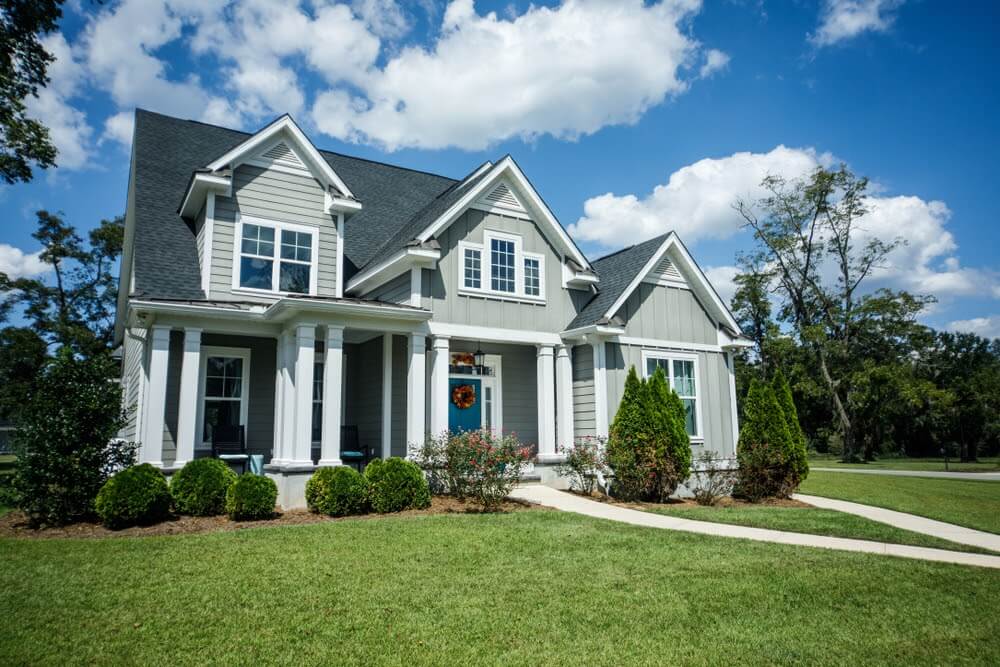
James Hardie is the undisputed world leader in the development and manufacturing of fiber cement products. The brand takes pride in building the world’s most resilient fiber cement siding, offering beautiful and durable options for any type of home. And now, James Hardie has started making products that are engineered for climate. No matter what the climate of your region is, we’re sure you’ll find what you need.
But you’re probably here because you’re wondering how to install Hardie Board siding by yourself. In this article, we’ll discuss why so many people like James Hardie, a step-by-step installation guide, common mistakes that can be made during installation, and some of the most frequently asked questions.
Once you’re through with this blog, you’ll know how to install Hardie Board siding, which is actually easier than most people think. However, you’ll have to remember to take the proper safety precautions. Also, it’s best to grab a friend or two to help you out!
Not a real zip code.
At Legacy Service, we provide home remodeling services. From roofing installation to siding replacement, we’ll help your home look brand new and protect you and your family from the elements for years to come. If you’re interested in replacing your siding with James Hardie, continue reading. If you’re looking to hire professionals instead, contact us here: https://legacyusa.com/contact/.
What’s now known as the James Hardie brand today was first established in 1888. They pioneered the technology for fiber cement products in the 1980s, and now they’re the world’s leading manufacturer of premium building products. More than 8 million homes across the United States are protected by James Hardie. It’s time for you to do yourself a favor and become one of those homeowners.
James Hardie’s most popular building materials include HardiePlank® (Lap), HardieShingle® (Siding), HardiePanel® (Vertical), HardieTrim® (Boards), HardieSoffit® (Panels), Aspyre® (Artisan), HardieBacker® (Cement Boards), and HardieWrap® (Weather Barrier).
HardiePlank® lap siding is not just James Hardie’s best-selling product; it’s also the most popular brand in North America. James Hardie products are known for their superior durability. Home exteriors are exposed to the elements all day long, every day! Weather, water, fire, pests, time – you name it – they can all be damaging. Fortunately, James Hardie develops products that can stand up to them. And if you’re interested in the appearance, you can rest assured you’re selecting the most beautiful product on the market today, with an extensive range of colors to choose from.
In this article, we’ll discuss the installation of Hardie Board siding. If you’re looking to complete this type of project yourself, read on. We provide a step-by-step guide to installing Hardie siding.
So, why do so many people choose James Hardie over other siding brands?
As the trailblazer of fiber cement, James Hardie is still considered the cream of the crop. The brand designs and manufactures the world’s highest-performance fiber cement siding, backer board, trim, and more.
The advantages of choosing James Hardie for your house include:
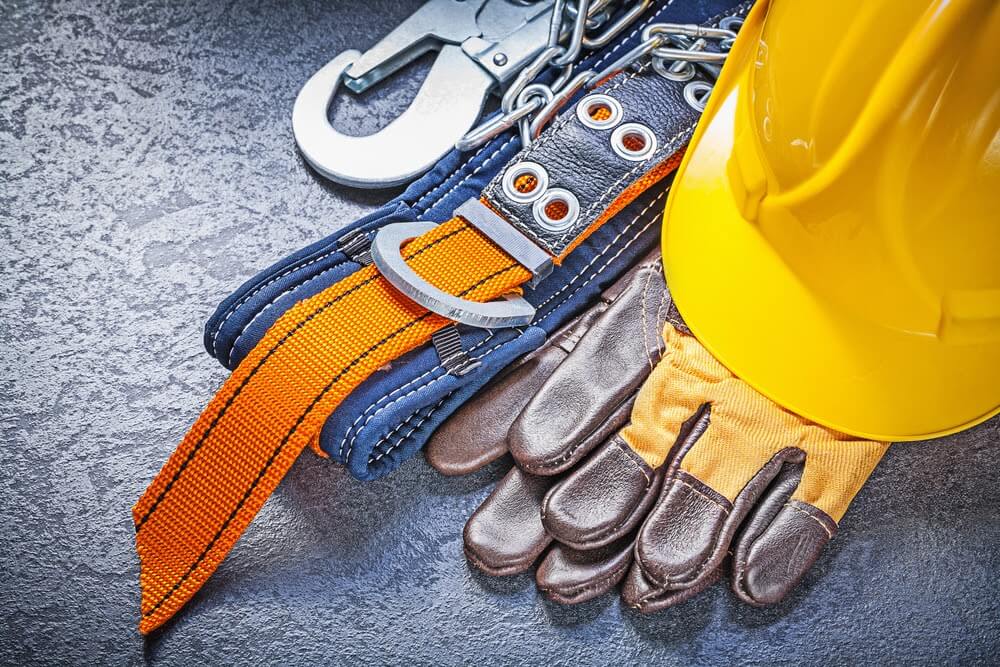
Before you begin the HardiePlank® siding installation process, we need to talk about safety. Here are the safety precautions that are recommended for anyone who decides to install HardiePlank siding:
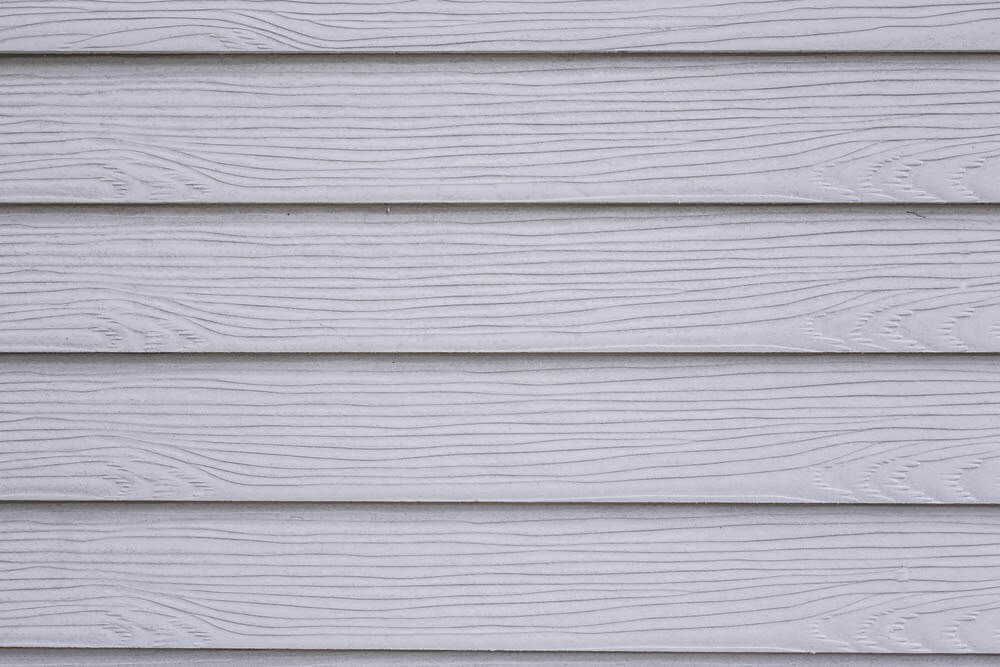
Here’s what to remember about the storage and handling of fiber cement:
Now let’s begin the Hardie Board siding installation process.
Not a real zip code.
It’s time for the moment you’ve all been waiting for: your step-by-step guide about how to do Hardie Board installation. Here are the steps you need to take to ensure a smooth process:
Note: If you’re working alone, you can use overlap gauges to help support the siding while you nail it.
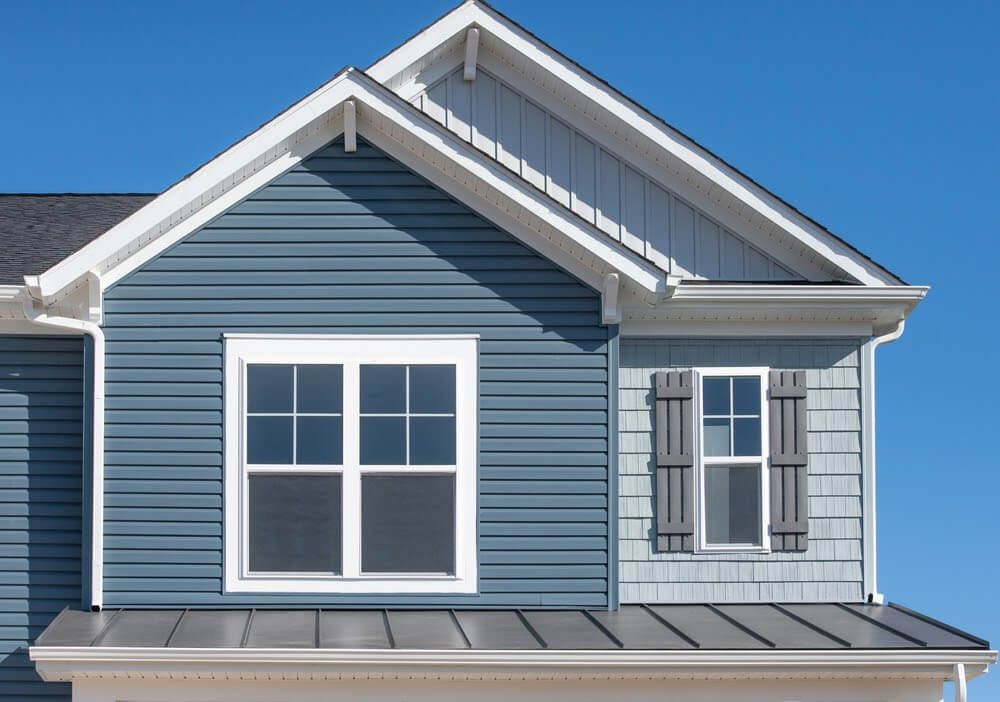
First, mark the locations for the courses. You can use a story pole as a guide. Then, install the siding courses and butt the courses tightly together. Make sure you stagger the butt joints, so they don’t lay on top of each other. Then, leave about a ⅛” gap between the corner trim and siding.
Read the next section to find out which mistakes you should be sure not to make during installation.
During the installation of Hardie Board, some mistakes can occur. The best way to ensure those mistakes don’t happen is to learn what they are before installation and to be careful during the installation.
Let’s take a look at some of the most common mistakes:
Whether you’re seeking out professional roofers or looking to do it yourself, you must be here because you’re looking to install Hardie Board siding. In this section, we’ll answer some of the most frequently asked questions about James Hardie siding so that you’ll have all the information you need to get started on the project.
If you’re looking for siding installation, look no further than our team at Legacy Service. We provide service all year round for customers throughout southeastern Pennsylvania, New Jersey, and Delaware. Without further ado, let’s answer some questions about America’s most popular brand of fiber cement siding.
For Hardie siding, it’s recommended to use stainless steel or hot-dipped galvanized nails. You can either nail by hand or use a pneumatic nailer. However, it’s best to use a pneumatic nailer for speed and consistency. At the bottom, the siding should be face nailed, and at the top, it should be blind nailed. Use siding nails for face nailing and roofing nails for blind nailing.
For HardiePlank® lap siding, James Hardie recommends using the blind nailing technique. The fasteners should be installed between ¾” and 1” from the top edge and no closer than ⅜” from the ends of the plank.
Caulking is good building practice when installing Hardie Board siding because it seals the joints, which prevents moisture (especially wind-driven rain and snow) from entering the wall cavity. When you caulk around the trim edges, eaves, windows, and doors, it provides extra prevention from any leaks that might have occurred.
Just remember that James Hardie recommends you use sealants and caulks that remain permanently flexible. The label or accompanying literature will say either ‘permanently flexible’ or ‘permanent flexibility,’ so look out for those words when selecting the caulk. Also, remember to allow the caulk to dry for the recommended time for best results.
One of the main advantages and selling points of Hardie Board siding is the fact that it’s resistant to pests, including termites. Termites eat wood, but the wood in James Hardie siding is infused with cement, so pests can’t access it. This is ideal for homeowners who live in the south, since termites are active for longer periods in warmer climates.
If you’re wondering how to do Hardie Board installation, you can refer to the section above. Our team of siding installation experts at Legacy Service also provide siding installation and replacement services. Contact us today to schedule a free estimate.
Not a real zip code.
Hardiplank siding may be more expensive than vinyl, but it may be a smarter investment in the long run because it’s more durable and tends to last much longer. If taken care of properly, it can last at least 50 years. So, how often does it need to be painted?
Ideally, Hardiplank siding should be painted every 10 to 20 years. Painting the siding is a great way to update and maintain the exterior of your home.
James Hardie fiber cement is one of the most durable siding types out there, but it’s possible for Hardie Board siding to crack if it’s been installed poorly. However, the good news is that you can easily repair the gap by cleaning it and using caulk to patch it.
Caulking the crack will help prevent water and other elements from going past the patch and behind the planks, which would cause further damage.
To learn how to hang Hardie Board siding so that it’s less likely to crack, we recommend contacting a roof professional. If you’d rather have a team do it for you, get in touch with us today.
When cleaning your Hardie Board, it’s best to use an ordinary garden hose and wash it about every 6-12 months. Don’t use a high-pressure power washer because it’s actually more effective to remove dirt and debris from this type of siding with a low-pressure hose and soft medium bristle brush.
Also, using a high-pressure hose to wash fiber cement siding is one of the few ways you could damage it. If you feel like you need to use a pressure washer, like in hard-to-reach locations, only use it at a low pressure (under 1500 psi).
Hardie Plank tends to be more expensive than other types of siding (like vinyl), but it will be worth it in the long run. Currently, it can cost anywhere between $0.80 and $6.00 per square foot.
James Hardie is perfect for those who want a more durable type of siding without breaking the bank. Although it’s more expensive than vinyl, it’s still highly affordable and can fit within the budget of many American homeowners. And that’s one of the many reasons why James Hardie is so popular.
Now that you know how to install Hardie Planks, it’s time to get started with the process. Fiber cement products by James Hardie are some of the highest-rated on the market today. Its beauty and durability make it an easy choice for millions of American homeowners. In fact, more than 8 million homes throughout the United States are protected by this product.
At Legacy Service, we provide siding replacement and installation services for those throughout southeastern PA, NJ, and DE. We also offer other home exterior services, including but not limited to roofing replacement and window installation. If you’re interested, give us a call today to schedule a free estimate.


