Your message has been sent
    and our manager will contact you shortly.

    REQUEST A BID

    Home | How to do it | How to Install Roll Roofing?

    How to Install Roll Roofing?

    Roll Roofing

    Roll roofing is one of the easiest types of materials to install. What you’ll need to keep in mind, though, is that homeowners choose it when they care less about their roof’s appearance than other characteristics (including ease of installation and cost).

    In this article, we’re going to discuss what roll roofing is, common materials used to make it, its pros and cons, and a step-by-step guide about roll roofing installation. We’ll also answer the questions we’re most frequently asked about it.

    Looking for qualified roofers near you?
    Find out how much your project will cost

    Not a real zip code.

    At Legacy Service, we provide roofing installation and replacement services throughout Pennsylvania, New Jersey, and Delaware. If you’re interested, please contact us at 215-798-9790 to learn more.

    What is Roll Roofing?

    It’s a composite sheet of roofing material that’s developed into a roll so that it can be laid into strips that overlap each other. The material will vary depending on which type you’re looking for on your roof. In most cases, though, the material will be similar to asphalt roofing shingles but thinner.

    This type is usually installed over bare wood sheathing or sheathing that has been painted with a primer. You can better protect the sheathing against condensation and leaking by applying roofing felt first. Then, you can install the roll roofing over the felt. In the sections below, we’ll discuss the most common materials used to make it and how to install it.

    Common Materials Used to Make Roll Roofing

    Asphalt shingles may be the most common, but there are a variety of materials you can use to make roll roofing. Common materials used for this type include:

    • Asphalt
    • Fiberglass
    • Asphalt-coated fiberglass
    • Asphalt-saturated organic felt

    Contact your local experts to determine which material would work best with your home.
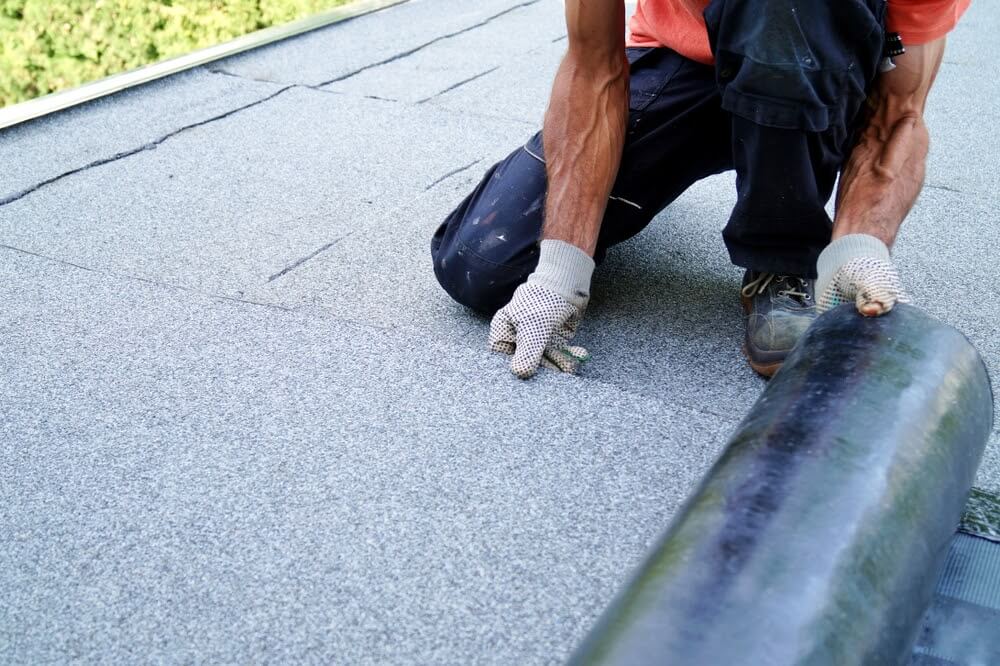
    Common Materials Used to Make Roll Roofing

    Where to Use Rolled Roofing

    Rolled roofing installation isn’t for just any roof, especially residential homes. However, it works well for other functional structures. You may consider installing it if you have a low-pitch roof, including those on patios, three-seasons rooms, sheds, gazebos, and garages. Other possibilities include barns, shops, outdoor exercise structures, and even kids’ treehouses.

    The good news is that it’s easy to install yourself if that’s what you’d prefer. Just remember to keep in mind that it’s best to choose a day for your project when the temperature is over 50°F so that the material is won’t be stiff and brittle.

    Pros

    So, why do people choose roll roofing over other types? The advantages include:

    • It’s the least expensive material, even when you compare it to low-cost composite shingles. Even the materials, like the nails, are inexpensive.
    • It’s easy to install. You can roll out a square of this material within minutes. This is unlike shingles, which have to be applied one-by-one.
    • It’s considered the best way to cover low-incline roofs. Just keep in mind that hammered-down rolled roofing shouldn’t be used for flat roofs because it may cause leaks.
    • It’s easy to transport. You’ll typically be able to move it by yourself or with the help of a partner.

    Cons

    Rolled roofing also has its disadvantages. Here’s why you may want to go with another type of material for your project:

    • If you’re looking for a color other than black, it will be tough to find for this type of material. Black MSR is the most common color of rolled roofing.
    • It’s much less durable than other types of materials, including asphalt shingles. Since it’s like one large shingle, it cannot respond to changes in a building’s structure without tearing.
    • It’s considered one of the least attractive roofing materials. However, if you care less about its appearance, it will work just fine.

    What You Need: Tools

    You may be considering installing roof yourself. If that’s the case, make sure you have all the necessary tools before you get started. The ones you’ll need include:

    • Ladder
    • Power nailer or hammer
    • Flat pry bar
    • Measuring tape
    • Carpenter’s square
    • Utility knife
    • Tin snips
    • Broom
    • Chalkline

    What You Need: Materials

    It’s also essential to gather all of the materials you need before you get started on your project. Here’s what you’ll need for a roll roofing install:

    • Roll roofing
    • Flashing
    • Nails for flashing
    • Roofing cement
    • Roofing felt or primer
    Find qualified roofers near you

    Not a real zip code.

    Roof Preparation

    You’re almost ready for the installation process! Next, you’ll have to prepare your roof. Here’s what to do:

    • Clean the roof thoroughly – It’s essential that you remove any excess dirt, grime, or debris from the roof before you begin the installation process. You can use a broom to brush off the dirt and a leaf blower to get rid of the leaves and debris. During the cleaning, wear long pants and work gloves. Don’t go on top of the roof to hose it, and remain in a safe place at all times.
    • Place out all the materials you’ll need – Remember to lay down all your items before proceeding with the installation. Roll out the sheets, so they’re flat on the ground, and use bricks on the corners to keep them in place.

    Roll Roofing Installation

    Step-by-Step Installation Guide

    When the roof is dry and your materials are all laid out, it’s time to begin with the installation. Here’s our step-by-step guide for roll roofing installation instructions:

    1. Identify the end of your first layer with a chalk line – Use a measuring tape to measure 35 inches up from the bottom of the roof. Then, mark it with chalk.
    2. Apply roofing cement – Scoop up roofing cement with a trowel and spread it along the edges. You can find this type of cement at the local hardware store. Apply the cement in several stages, starting with the bottom, then moving to the middle, and so on.
    3. Cut the rolled roofing – Using a razor knife, cut the material so that it reaches the chalk line when you lay it down and stretches from one end of the roof to the other.
    4. Place the first layer and hammer nails – Place the first layer down, stretching it to get rid of any creases and wrinkles. Push it onto the cement to secure it. Then, use a strong hammer for the nails at 10-inch intervals across the roof. You can also contact your local experts to learn more about how to install roll roofing without nails.
    5. Repeat the steps to apply the second layer – Use a measuring tape to measure 32 inches above the first layer. Then, repeat the previous steps to apply the second layer.
    6. Cover the nails and trim the edges – When you’ve applied all the necessary layers, cover your nails with cement to seal them into the roof. Then, trim the edges with a razor knife.
    7. Clean up – The last thing you need to do is clean up and enjoy your new roof!

    Additional Tips for Installing Roll Roofing

    A few roll roofing additional details include:

    • Try to install the roll roofing material when the temperature is at least 50°F.
    • Clean the area of any sticks and stones beforehand and as you work. Also, install a drip edge along the edge of the roof.
    • With lower sloped roofs, you can install the material horizontally. With higher-sloped roofs, you should install them vertically.

    Roll Roofing FAQ

    Here are the questions that we’re most frequently asked:

    Does roll roofing need underlayment?

    Roll roofing does not require an underlayment, but it’s still a good idea to use it. Underlayment will help provide extra insulation and weather protection. It can be found at your local hardware or home improvement store.

    Do you nail down roll roofing?

    Nails are typically used to secure this type of roof. You can nail the separate layers by hammering the nails in 10-inch intervals across the roof. After that, you’ll want to use cement to cover them and seal them in place.

    Where do you nail roll roofing?

    Hammer nails in at 10-inch intervals across the roof. They should be placed along the bottom edge and along the sides. Make sure they’re 1 inch from the edge.

    Can you put roll roofing over shingles?

    It is possible to install roll roofing over shingles, but it’s much better to remove them. However, if you find that removing your current shingles is a problem, don’t stress over it. Just make sure you remove gravel, slag, and debris from the existing roof so that you can avoid puncturing the MSR.

    Is roll roofing cheaper than shingles?

    The cost to install roll roofing is almost always cheaper than shingles. It’s one of the cheapest types out there. It’s typically not used for residential homes, though. Places it’s most often used include sheds, gazebos, patios, garages, and more.

    How do you install rolled roofing without nails?

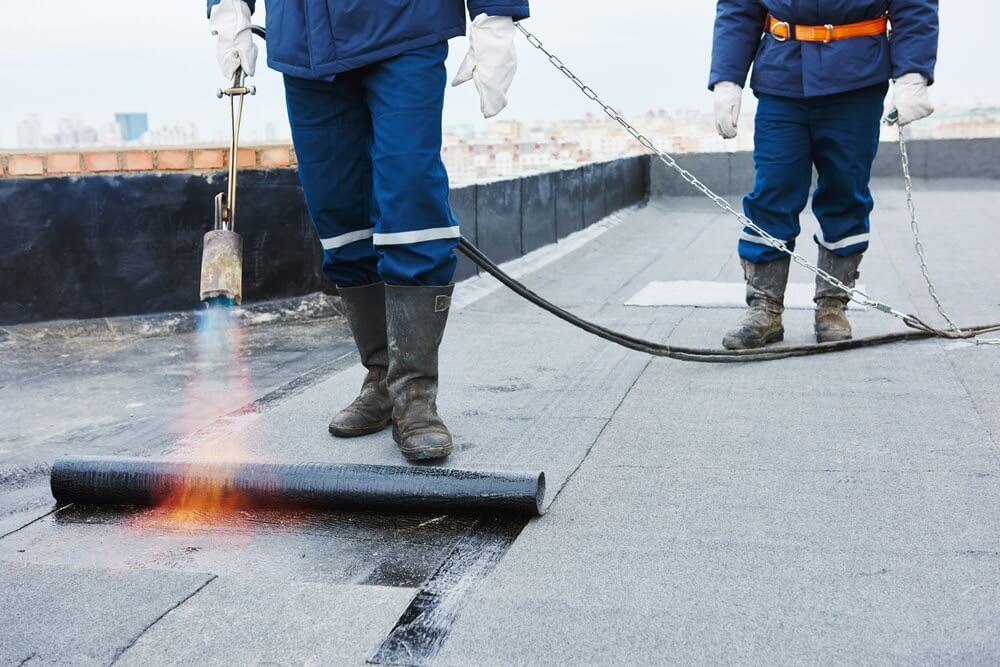
    A quality way to install rolled roofing without using nails is by using a torch. You’ll need a propane torch to apply heat to the layers to secure them in place. This works very well for the roof’s durability.

    How much do you overlap rolled roofing?

    The next layer should typically overlap the first layer by at least 4 inches. Mark it with a chalk line to help you place it.
    Time to Get Rolling

    It’s Time to Get Rolling!

    Now that you know how to install roll roofing, it’s time to get started! Contact our team at Legacy Service if you need any assistance with roofing, siding, windows, or doors replacement or installation services.

    Find qualified roofers near you