
Request Quote

Home | How to do it | How to Install a Roof Vent
One simple and effective way you can protect your roof and ultimately your home is through the use of vents. They allow for proper ventilation to help prevent the buildup of moisture underneath a roof and in the attic that may eventually cause further damage to the rest of your home. All in all, vents are part of a healthy home and a complete roofing system.
So, you’re probably wondering how you can get one or more of them installed on your residential roof. If you’re roof-savvy enough to do it yourself, you might want to give it a shot! Roof vents are fairly simple to install, and the job can be completed within a few hours in most cases. If you’d prefer the expertise of a roofing professional, you can give us a call here at Legacy Service at 215-798-9790 to schedule a consultation to determine the amount of ventilation you’ll need as well as the estimated cost. Continue reading to learn more about how to install roof vents!
Not a real zip code.
Roof ventilation serves a variety of purposes. Adequate ventilation can extend the life of your shingles, prevent ice dams in the winter as well as rot throughout the year, and help reduce your home’s energy bills. In many cases, vents will help protect your home from expensive repairs in the future.
We understand that you want what’s best for your house. After all, it’s what protects your family from, well, just about everything. With the proper roof ventilation, you can help ensure your home will remain safe and sound by preventing moisture buildup inside of your home that comes from rooms like the bathroom, kitchen, and laundry room.
You may be wondering if roof vents really work and if they’re actually worth it. If done properly, they can do wonders for your home whether it’s the summer or winter. During the winter, warm, moist air can seep into your attic from the areas below, while in the summer, too much heat from the outside can cause buildup within your home. However, good ventilation will allow the heat and moisture to escape, which cuts cooling costs and helps prolong the lifespan of your shingles. It also keeps your attic dry and reduces ice dams.
Before installing any roof vents on your home, determine the amount of ventilation you’ll need. You can check if your attic is underventilated by following these four steps:
So, how do you determine how much ventilation you need? If you want to figure it out yourself, calculate the size of your attic by multiplying the length by the width. For example, a 40 x 50 ft. attic will have an area size of 2,000 sq. ft. In most cases, you should aim for 1 sq. ft. of opening per 150 sq. ft. of attic. An expert will be able to give you a more accurate answer for the amount of ventilation your roof needs.

Some homeowners would rather add roof vents to their existing roof themselves, and if you’re one of them, read through our step-by-step guide before you get started. First, here’s what you’ll need:
Not a real zip code.
Next, use this 10-step process to learn how to add ventilation to your roof:
If you have any questions about this process, feel free to contact us at any time.
Fortunately, the installation of roof ventilators is relatively inexpensive. Depending on a variety of factors, including materials and labor, installing a vent will typically cost between $300-$650. The exact cost will depend on the size and type as well as the number of vents you decide to install. Since vents come in various styles, they can cost anywhere from $10 to $500 each. Ridge vents, on the other hand, typically cost $2 to $3 per linear foot.
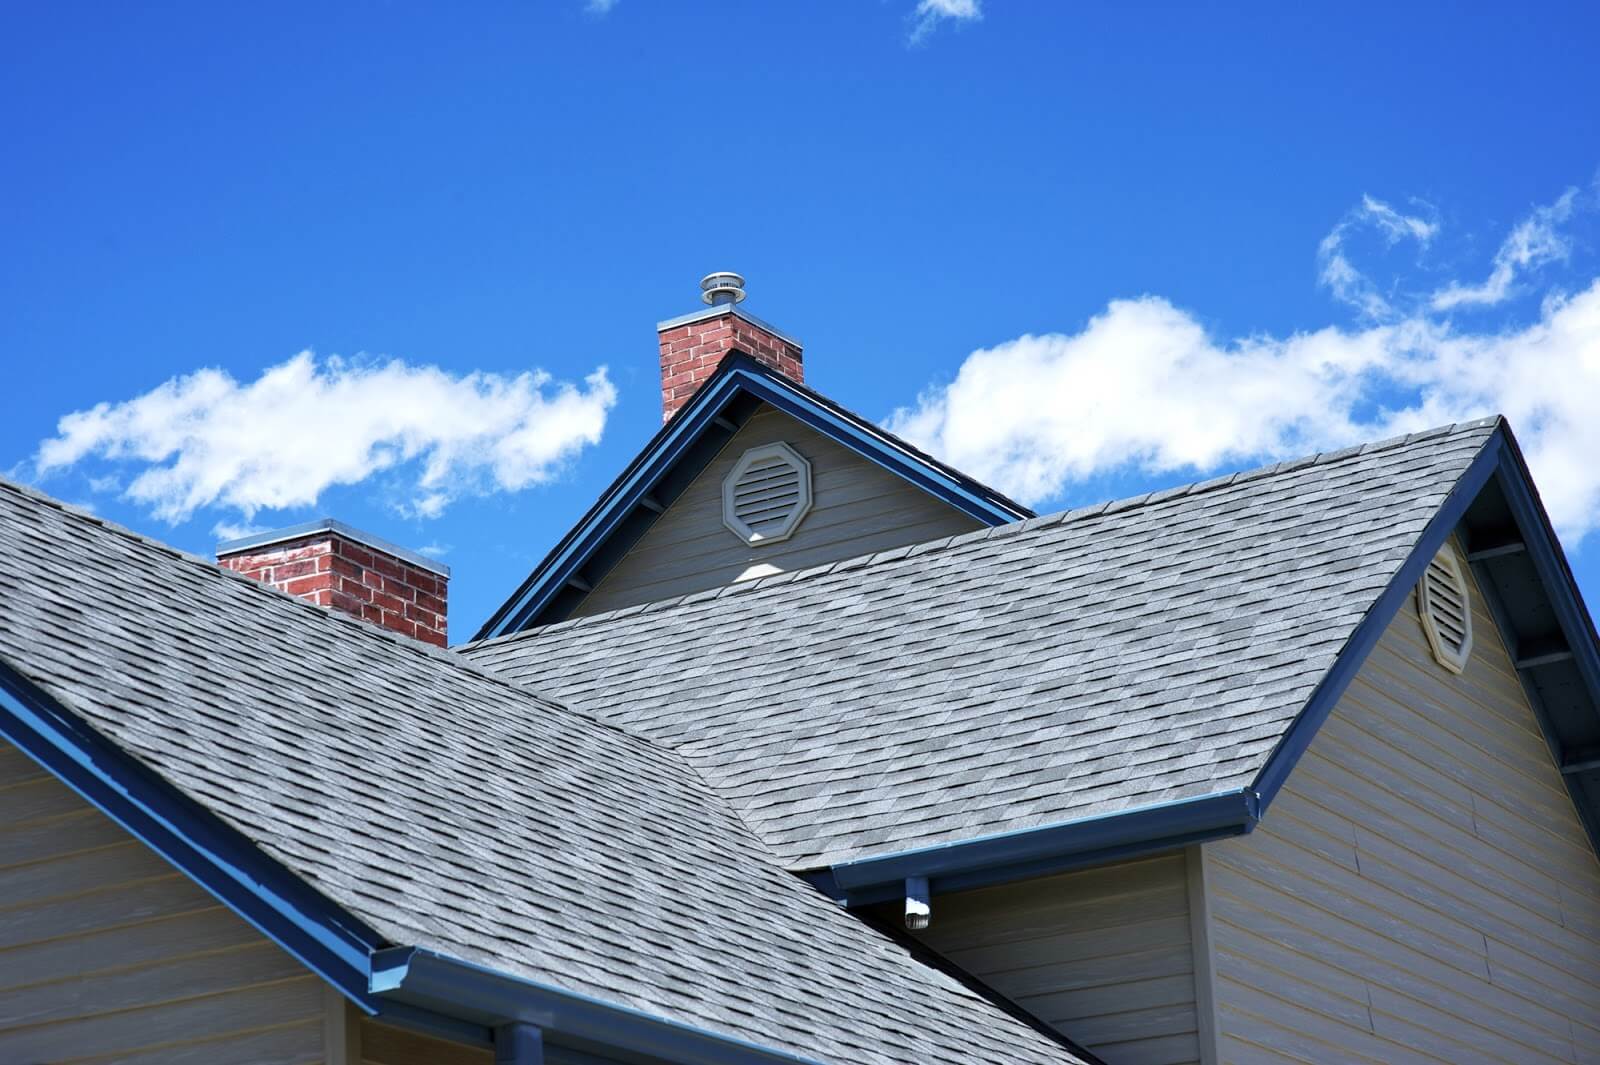
So, what’s the difference between the different types of vents? Well, there are three main types: soffit, ridge, and roof/gable. Soffit vents run along underneath the eaves of the roof, and they’re designed to enhance airflow since it enters from the outside. Ridge vents will run the length of the roof’s peak, and they allow warm, moist air to escape. Roof and gable vents have a single point of entry and exit. For the best ventilation system, you’ll want a combination of these styles. Any ventilation is better than none, though.

As you know, your roof is an enormous investment, which means that you’ll want to do everything you can to maximize its lifespan. Installing vents is just one of the ways you can further protect your home.
This is a fairly simple job for those who have experience with roofing projects. However, it’s usually best to hire a professional. If you’re looking for a roofing contractor to get the job done, you can always contact our team of experts here at Legacy Service. Get started on installing your vent(s) today by calling us at 215-798-9790 or filling out a contact form here. We’ll also take care of the rest of your home’s exterior, whether you’re looking for installation or replacement for your siding, windows, or doors.


