
Request Quote

Home | How to do it | How to Install Vent Pipe Flashing on an Existing Roof
No one wants to have a leaky roof. That’s why it’s best to remain proactive in maintaining yours. If your roof is already leaking, it’s best to get it taken care of right away before it causes more extensive damage.

One of the ways you can help prevent leaks on your roof is by installing vent pipe flashing. The process of installation is actually quite simple. If you have experience working with roofing and flashing projects, you may be able to do it yourself. In this blog, we’re going to provide you with a step-by-step guide. Of course, you can always call our team of experts at Legacy Service instead.
Not a real zip code.
The main reason homeowners choose to install or replace the vent pipe flashing on their roof is to stop or prevent leaks, which may also help extend the lifespan of the roof. Over time, the flashing around plumbing vents can rust or deteriorate, and it will need to be replaced. Getting it done as soon as possible will help reduce potential water damage, and may even save you hundreds or thousands of dollars in the process. However, you’ll need to ensure that it’s waterproof, so make sure the flashing and nearby shingles fit properly when you do the job.
Vent pipe flashing is typically cylindrical, and it has a large, flanged base, so you can easily lap it into your shingles during a roofing project. Installing flashing onto an existing roof is a fantastic way to help maintain its health without breaking the bank. You may also want to have other parts of the roof inspected, so you’re keeping it up-to-date. If you’re having any hesitations about completing this project yourself, it’s best to hire a roofing contractor like our team at Legacy Service that will help you get the job done right. We have more than a decade of experience and will provide you with a combination of protection and reliability that’s unmatched elsewhere.

Before you start the project, you’ll want to make sure you have all of the necessary tools available. This will help you get the job done quicker and more efficiently, saving you both time and frustration in the process. Here are the tools you’ll need to have on hand:
Gathering these tools before you begin will make it that much easier to install the roof vent flashing.
Finding and purchasing the required materials is also a must before you begin your roof vent flashing installation project. Here’s what you’ll need ahead of time:
You may need other materials down the line, but you should definitely start with the aforementioned ones.
Once you’ve collected the tools and materials you’ll need to install the flashing, it’s time to get to work. Here’s a step-by-step guide to see how it’s done whether you want to do it yourself or get a better idea of what your roofing expert is going to do. Let’s begin!
Not a real zip code.
If you’re going to be doing the job yourself, remember to be careful. We cannot stress this enough. Also, use nails that are made from the same metal as the flashing. This is important because dissimilar metals can react with each other and hasten corrosion.
If you’re in need of vent stack flashing, your roof may be in need of other types of flashing as well. Of course, the best way to tell would be for an expert to look at your roof. Here are the kinds that come in pre-formed styles, so they can be installed more easily:
Valley Flashing – This type is typically formed in a V or W shape, and it’s used where two different planes of the roof meet to form a valley.
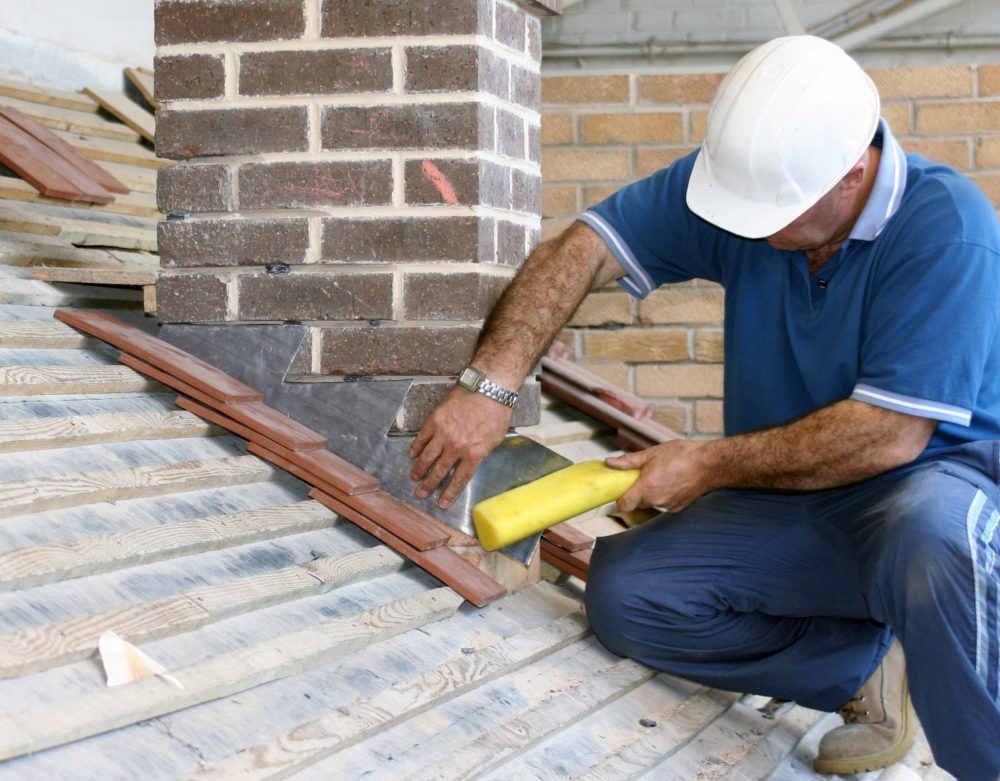
Step Flashing – This type is made to protect the joints between roofs and other objects like skylights and chimneys. It’s called step flashing because it steps up above the shingles and attaches to the object, which helps to provide comprehensive water protection.
Drip Flashing – This type is installed on the edge of roofs, which helps guide water into your gutters and away from your roof. Drip flashing includes two types: T-Shaped and L-Shaped. T-shaped overlaps edges on an existing roof to let water drip off more easily. L-shaped is used when you’re beginning to install flashing on a roof in areas where the wall and roof meet.
Are you ready to get started on installing your flashing? If you need to install vent pipe flashing, whether it’s a tile roof, flat roof, or another kind altogether, make sure to either follow the necessary steps or contact your local roofing experts for help.
At Legacy Service, we’ve dedicated our lives to updating your home exterior and ensuring you have the best possible roof and siding to make sure your home and family are protected for decades to come. Flashing can help extend your roof’s lifespan by preventing leaks and maintaining its health.
Whether you live in Pennsylvania, New Jersey, or Delaware, we can help you! We have decades of experience in providing the best roofing installations as well as siding, windows, and doors. When it comes to roofs, we offer everything from asphalt shingles and metal roofing to cedar roofing, copper roofing, and slate. If you’d like to learn more about installing roof vent pipe flashing, give us a call today at 215-798-9790 or contact us at https://legacyusa.com/contact/.


